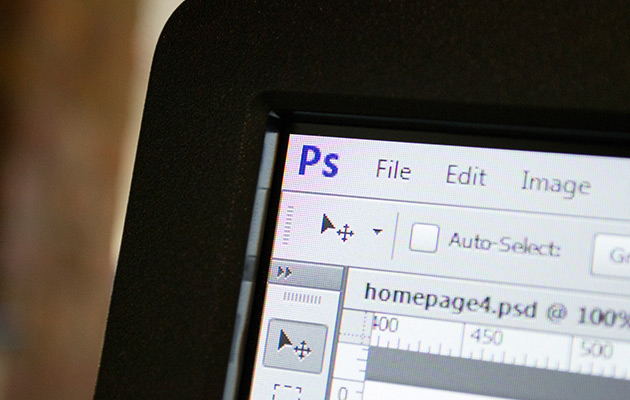
When it was released in the early 1990s, Adobe Photoshop was originally intended for photographers wanting to manipulate their photos. The past decade, however, has seen it become more and more popular as a tool to design websites and is now the de-facto for all professional and budding web designers around the world.
I’ve used Photoshop since version 4 and, although I’ve tried to switch to Fireworks over the years, I’ve always came back to the sheer endless functionality Photoshop provides. For a beginner using Photoshop, this can be a little intimidating but sticking to our top 10 tips below will ease you in and help you become a web design pro in no time!
1. Invest in some decent hardware
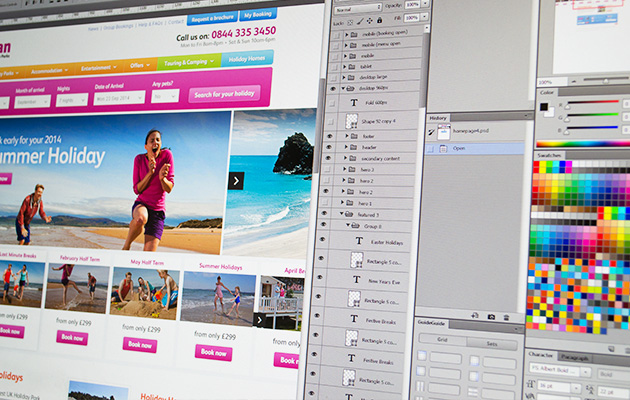
Sure you can run Photoshop on the most modest of computers but to get the full performance from it you’re going to want a modern computer. I’d recommend making sure you have a good graphics card and processor as standard but what really makes Photoshop tick is RAM. I’d recommend at least 6GB as a rule of thumb but the more you have, the more responsive Photoshop will be – especially if you’re like me and have multiple windows open at once!
2. Get your (virtual) workspace in order
Photoshop allows you to customize your workspace so you can have all of the tools you use frequently at hand whilst hiding the ones you never even glance at. To customize your workspace, with Photoshop open, click ‘Window’ then check on/off the tools you’d like to see. They will start to appear on your screen. You will then be able to drag them around to where they are best positioned for your way of working. Once you’re done, they will automatically be in the same place each time Photoshop opens. Clever eh? You will probably tweak it as you go until you find something that works for you – I now have both my work and home computers setup the same for ease of use.
3. Use smart objects – Never rasterise!
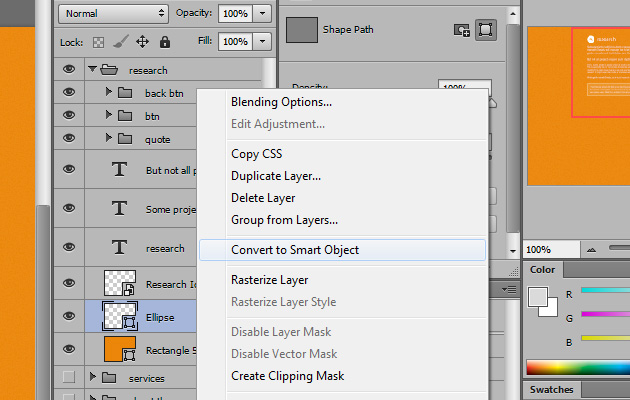
This is a pet hate of mine when I receive work from other designers and go to change an element of the design only to find it’s been flattened (or rasterized) meaning I have to recreate the whole thing again. Take advantage of the shape tools in Photoshop which allow you to resize without any loss in quality as they work much like vectors in Illustrator. Smart objects are also a saviour and I’d recommend using them when working with high quality photos or multiple layers that you may plan on resizing. To make any layer a smart object, simply right click on a layer within the layers panel and choose ‘Convert to Smart Object’. If you do really have to rasterize any layers, why not make a duplicate and simply hide the original so that if you ever need to go back to it you can.
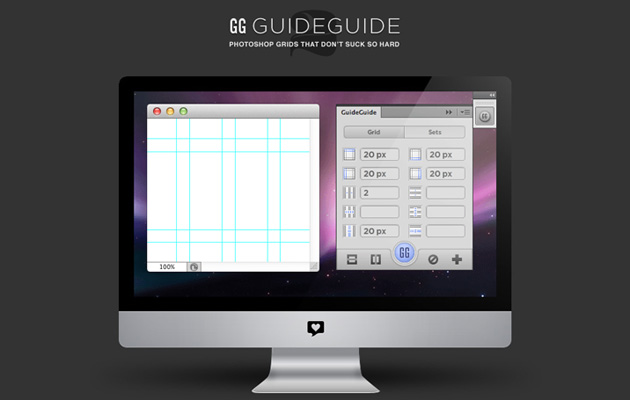
4. Install GuideGuide
A must for any web designer. The smart little plugin for Photoshop allows you to quickly setup guides and grids to make sure your layouts are pixel perfect. It’s really easy to use. You simply select the margins on the left, right, top and bottom then your padding etc. and press the big shiny button and hey presto, the guides are created. Gone are the days when you had to use the ruler and calculator and work it out for yourself.
Download GuideGuide now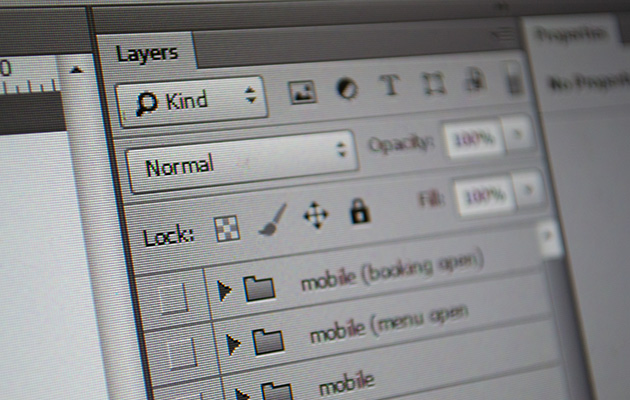
5. Group layers and name descriptively
Etiquette within Photoshop is really important when sharing files between colleagues. If you pass over a PSD to a developer and they can’t find the correct element because your layers aren’t named properly, you will likely get a ear bashing. So make sure to name your layers as you go. Create groups for each part of the layout; Header, Nav, Hero, Left Column, Main Content, Footer etc. As well as helping out your peers, you will be able to work faster as you won’t be hunting around for ‘that’ button amongst hundreds of layers.
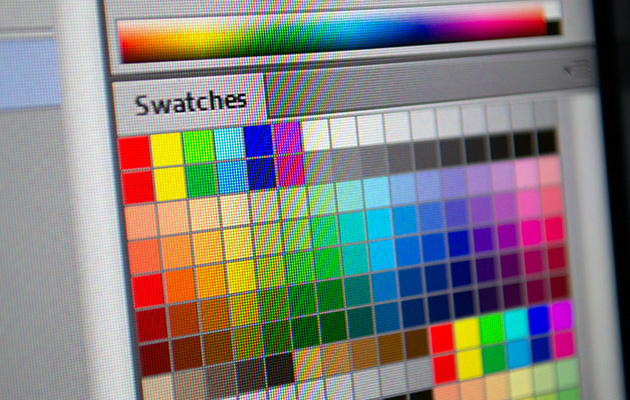
6. Use swatches and styles for future use
Another time saver when working in Photoshop is to save colours for each project you work on. So if you’re using a particular blue, purple and grey, save them into the swatches panel and next time you’re working on the project, you can quickly access the correct tints without searching around for those hex codes in Basecamp.
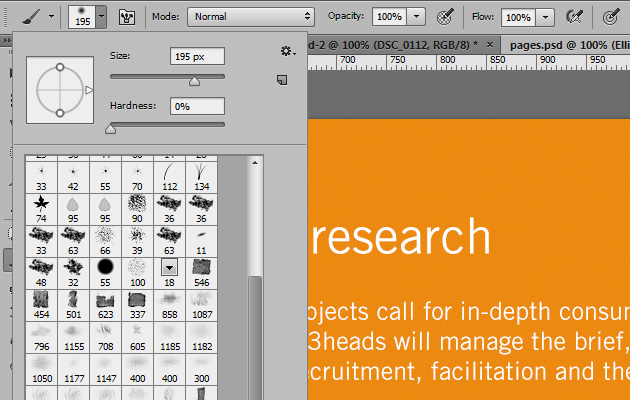
7. Download some patterns and brushes
There will come a time when a particular project will force you to hunt around the internet for some good quality patterns and brushes. Get ahead of the game by downloading and installing some now. You will likely use them a lot more than you think. Subtle patterns can change the whole look of a block colour. A flat grey will have more depth when a simple 4px pattern is applied to it. Maybe you want your background image to have a little more grit – simply brush over it with a subtle grunge brush and it will look distressed in seconds. Here are a few links to help you get started:
8. Use slices to output your buttons/graphics
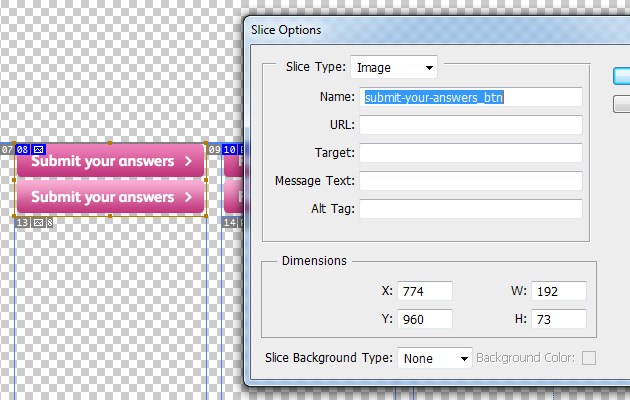
When creating images to use on a website, rather than having multiple PSDs for each element, it’s often best to have them all within one PSD. This allows you to change the colour of a button or font more easily across multiple elements. For this we use slices. Simply place all your elements across a large canvas in Photoshop and then select the ‘Slice’ tool from the main tools. The icon looks like a scalpel. Once selected, draw around each element you’d like to save. You can give each slice a name by double clicking on it. The name you give will be the file name it’s given in the next step. To save out all of the images, simply choose ‘Save for Web’ within the File menu. This will present you with different file format options to save the images. You can choose different options for each slice by clicking on one and changing the options on the right. To set the same options for all of your slices, simply drag the cursor around all of the slices (or shift-click each slice) to select them all. Once you’re happy, click ‘Save’ and then choose where you’d like to save your images. Before pressing ‘Save’ again, from the dropdown change ‘All Slices’ to ‘All User Slices’. This makes sure Photoshop only saves your slices and not ones that are automatically created.
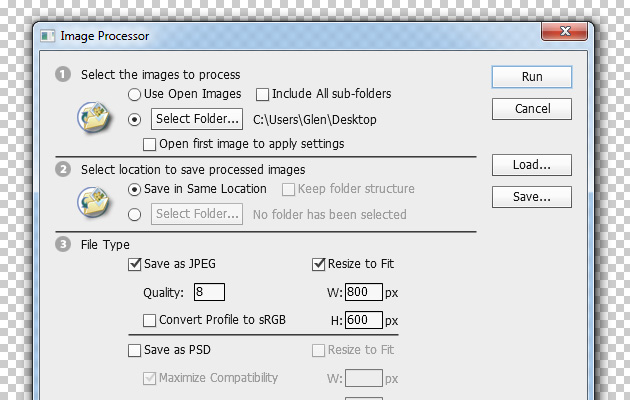
9. Take advantage of batch process for multiple images
Resizing multiple images can be a bit of a carry on. Luckily, Photoshop has a lovely little tool hidden away that does the job perfectly. Simply point to File within the main menu in Photoshop and move down to Scripts > Image Processor. From here, you will be able to select the folder of images you’d like to resize, where you’d like to save your newly resized images, and what size you’d like to resize them to. Once you’ve setup your options, including the image quality, hit ‘Run’ and off Photoshop goes, resizing all of your images for you. Easy as that. You can even setup pre-saved ‘Actions’ to apply specific effects to each image – I will probably cover that in a future blog post.
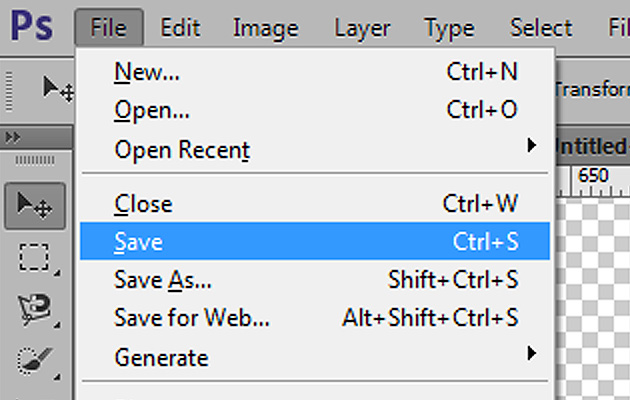
10. Save regularly
The most important tip is the last one. Please, please, please make sure you save your PSD regularly. Although it’s improved dramatically from a decade ago, Photoshop still has the tendency to crash when you least expect it. So every few minutes, just tap that Ctrl+S to save your document. It even saves in the background now (Version CC) so you can continue working and don’t need to wait of it finishing first. Many a time, I’ve put off saving so I can just get this little bit finished off and then I end up losing the last hours work due to an ‘Unexpected Error’. So use the shortcut key! Remember Ctrl+S (Cmd+S for Mac Users).
If you have anymore great tips let us know via our Facebook page.