
Adding products at first might seem a little daunting, however once you familiarise yourself with the back-end environment* it becomes a very easy process. In fact it’s an almost identical process to adding a blog post.
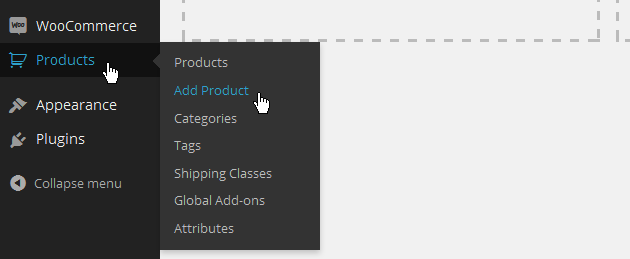
First navigate your mouse to the left sidebar, click “Products”, then click “Add Product”. This will load the “Add New Product” page, which will allow all the product information to be entered into the store.
To start; the product will need a name, description, image, and price. These are the core attributes of the product and are generally defaulted as mandatory. Missing any of these will produce an error when saving the product. If this happens, don’t worry, simply enter the information that is missing and try again.
Product Name
The product name is one of the most important attributes. It could be the first thing a potential customer sees when browsing the website. Therefore choosing a descriptive product name that will capture the customers attention is imperative.
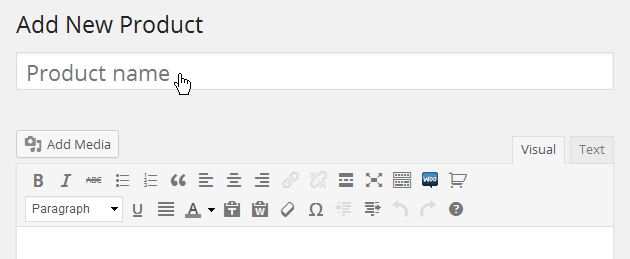
In order to enter the product name, simply type it in the area provided.
Product Description
It is always best to put some thought into product descriptions as this information will be used and accessed throughout the website. First and foremost it is a way of persuading customers to purchase the product, but it is also used to help find a product. Customers who search for products using the website search functionality will enter specific keywords that will be matched with keywords within the product description. Those that match will be returned to the customer.

When entering a product description, do not to cut and paste from a word document. Doing this could accidentally copy unwanted hidden code that might break or disrupt the website. To be on the safe side, type the information directly into the text area provided. If the information is too long or time consuming, please refer to our article “Importing Content to your website from Word” for further guidance.
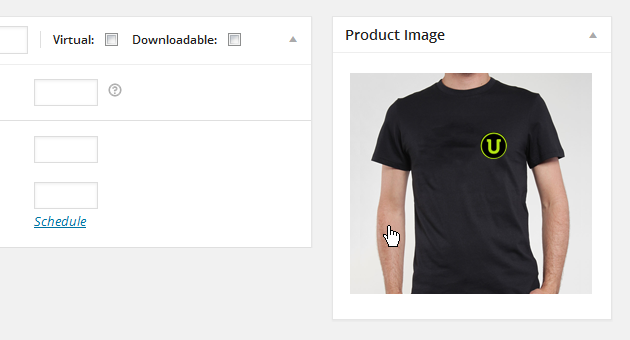
Product Image
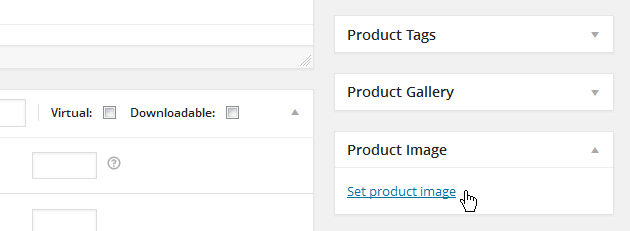
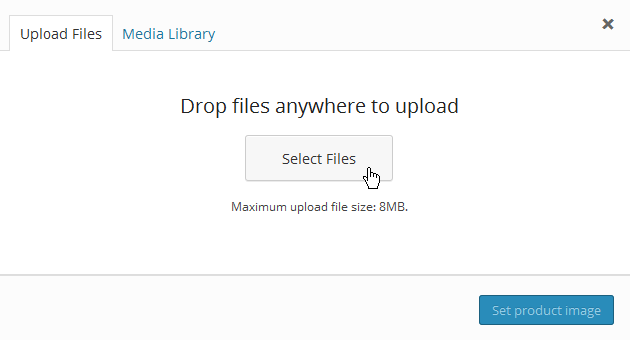
Scroll down the page to the section titled “Set product image”. Click the link to open the upload files window. A pop up window will appear with a button titled “Select Files”. Click this to browse to the file to be used as the main product image. It’s always a good idea to have the image saved in a location easy to navigate to, e.g. the desktop. Having chosen the image, click “Set product image”, this will then close the upload files windows and set the main product image.
There are a few things to consider however. The image size; it’s not a good idea to upload images directly from a digital camera. Usually the camera is set to the highest quality, creating images with a very large file size. That’s acceptable for print, but not for the internet. Reducing the image file size to around 2mb will speed loading times and help with the optimising of the website. WordPress will undertake its own image optimising, but sometimes that isn’t enough.
With websites becoming increasingly more responsive, with more and more hand-held devices being released each week. It is important to take into consideration the composition of the image.
WordPress is able to take the original image and generate smaller sized cropped versions for smaller screen sizes. A rule of thumb that appears to work best, is to make sure that the main part of the image is in the centre. This means when WordPress generates its smaller images it shouldn’t affect the composition and or crop the main part of the image.
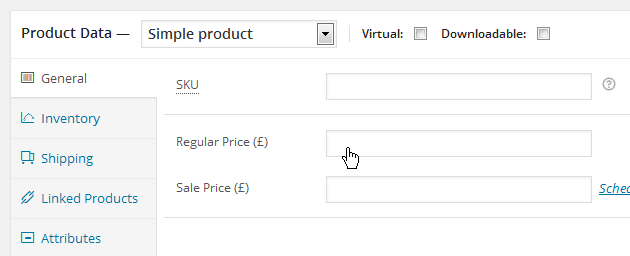
Product Price
There isn’t really much to say about the Product Price, other than enter it in the space provided.
If it’s something you think I would like to buy – make it cheap! 🙂
*back-end environment – WordPress Admin Area